

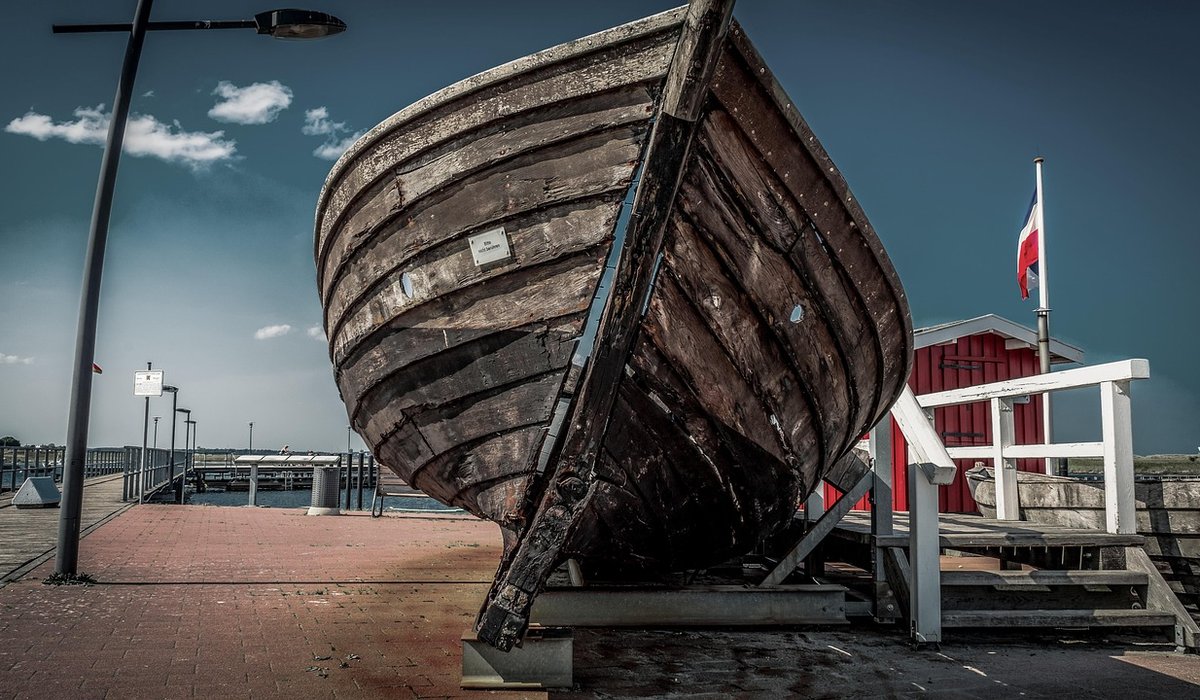
There is a particular weekend in late March when every boatyard in the country seems to come alive: ladders clanking against hulls, pressure washers humming, and someone muttering at a seacock that has not moved since October. After a winter of gales and grey skies, preparing your boat for the first proper trip of the season is one of the genuine pleasures of UK boating. Do the work properly now and you will spend the summer cruising rather than waiting for parts. What follows is a sensible order of work, roughly the sequence most experienced owners follow.
Begin With the Hull: Cleaning and Antifouling
Everything starts ashore, ideally on a calm, dry day with a couple of days of settled weather ahead. Pressure wash the hull as soon as she comes out of the water, while the fouling is still soft. Scrape off barnacles and tube worms, paying attention to the waterline, the rudder, the keel and around the propeller aperture.
While the hull is bare, look properly. Check for blisters, cracks around the keel root, and any weeping from keel bolts. Tap the hull lightly with a small hammer and listen for dull spots that might suggest delamination. This is also the moment to inspect the rudder bearings and the stern gland from outside.
- Sand or abrade the old coating to give the new paint a key, then wipe down to remove dust and grease.
- Apply two full coats of antifouling, and a third along the waterline, rudder leading edge and any area of high turbulence.
- Respect drying times, and avoid painting in temperatures below about 5°C or onto a damp hull.
- Treat the propeller with a propeller-specific coating rather than hull antifouling.
Anodes, Seacocks and Below-Water Fittings
Sacrificial anodes are cheap insurance and are too often forgotten. Inspect the shaft anode, the propeller nut anode, the hull anodes and any anodes on trim tabs or outboard legs. Replace any that are more than half wasted, and make sure the mating face is clean metal so the electrical contact is sound. Check bonding wires for corrosion and continuity.
Next, work through every seacock on board. Operate each one fully open and shut, and if a handle is stiff, deal with it now rather than mid-Channel. Grease the spindles, and dismantle any that refuse to move. Inspect hoses below the waterline for cracking or perishing, and replace double hose clips with marine-grade stainless steel. Keep a set of soft wooden bungs near the seacocks, sized to each through-hull, just in case.
Engine, Fuel and Fluid Systems
An engine that has sat idle for five months deserves a proper going-over. Change the raw water impeller as a matter of routine, since the vanes take a set over winter and can fail without warning. Check and replace the fuel filters, and drain any water from the sedimenter or water separator. If the boat has been afloat all winter, look for the tell-tale signs of diesel bug and consider treating the tank.
- Change engine oil and filter, and check gearbox oil level and condition.
- Test the coolant strength with a hydrometer and top up the antifreeze mixture if needed.
- Inspect belts, hoses, hose clips and the exhaust system for cracks or black staining.
- Grease the stern gland, or check the packing if it drips more than a few drops a minute when running.
- Charge and test the batteries, clean the terminals and smear them with petroleum jelly.
Outboards need the same attention: gear oil, plugs, impeller and a good greasing of the tilt mechanism and steering. Run the engine on the pontoon before you cast off, and confirm you have a strong tell-tale of cooling water.
Rigging, Sails and Topsides
Go up the mast, or have someone competent do it, and examine every swage fitting for cracks and rust stains. Check split pins and rigging screws, and look for any distortion in the mast or boom. Wash running rigging in fresh water to remove salt and grit, and check ropes for chafe where they pass through blocks and clutches.
Unpack the sails and look for UV damage along the leech and foot, loose stitching and seized slides. Check deck fittings, chainplates, hatch seals and window frames for leaks, and polish the topsides. Treat teak with a suitable cleaner rather than a harsh pressure wash, which raises the grain.
Safety Gear and Electronics
Safety equipment has expiry dates and they tend to cluster inconveniently in spring. Check the service date on your liferaft, the expiry dates on flares and extinguishers, and the condition of every lifejacket. Inflate jackets by mouth, inspect the cylinders and firing mechanisms, and replace any that have been fired or corroded. Test the gas system with a bubble tester or soapy water at every joint.
Switch on the electronics and let them run: VHF radio, chartplotter, depth sounder, autopilot and AIS. Check the antenna connections, update your charts, and confirm the DSC registration details are current. Replenish the first aid kit and make sure you have spare impellers, filters, fuses, bulbs and a decent tool kit aboard.
The Shakedown Trip
Your first outing should be short and undemanding, ideally in settled weather and neap tides. Watch the engine temperature and oil pressure, confirm a steady flow of cooling water, and check the bilges for leaks once underway. Run the engine at varying speeds, exercise the sails and rigging, and check every instrument against a known reference.
Tell someone ashore where you are going and when you expect to be back. Once alongside, walk the boat again: recheck hose clips, look for new drips, and note anything that needs attention before the next trip. A thorough spring preparation is not just about avoiding breakdowns — it is about starting the season relaxed, confident and ready for the water.






John Doe
14 January, 2022Having no content in post should have adverse..
Chauffina Carr
10 April, 2022We use these tests all time! Killer stuff!
Jim Séchen
16 July, 2022Thanks for all the comments, everyone!